iPad Video Converter Reviews provide you iPad Video Converter and best iPad Video Converter for Mac software, which can help you to convert video to iPad easily. It permit you to enjoy DVD, music and video clips on iPad at anytime and anywhere.
iPad Video Converter, the best tool to convert any video (AVI, MPEG, WMV, DivX, MP4, MOV, RM, RMVB, ASF and 3GP, etc.) and audio format (MP3, AAC, WAV and so on) into iPad, can help you solve all problems about conversion. It can extract audio from videos and convert them into iPad audio formats.
Besides, you can extract pictures according to your requirement from videos by taking snapshots while previewing. This best converter considers all aspects and never lets you down, because you are allowed to freely adjust output parameters, including bit rate, codec, frame rate, sample rate, etc. What’s more, it provides functions to trim, crop, merge and add watermark.
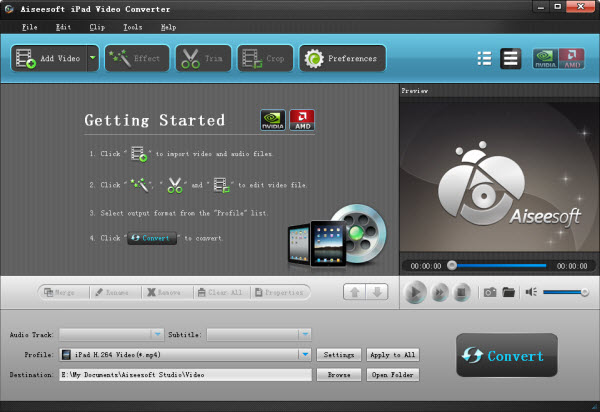
It is very easy to use, and you can grasp it just from the following interface. For Mac users,iPad Video Converter for Mac is your best choice. It is as excellent as the front one.
There are only several steps for you to convert video to iPad.
Fist, run the best converter after having downloaded it.
Click “Add File” to load the video you want to convert. On the right, click the play button to preview it, and you can take a snapshot of it.
Second, choose its output format from the drop-down list of “Profile” option. You can click “settings” button to set up the video’s details, such as the resolution, frame rate, video and audio bitrates, and so son.
Don’t forget to set the destination. Just click “Browse”, and select your iPad as your destination.
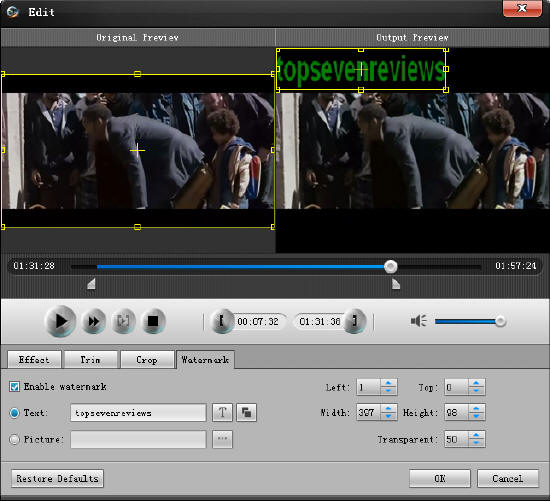
Third, click “Clip” button above, choose “Effect”, “Trim”, “Crop” or “Watermark” to edit the video and make it more perfect.
Take “Watermark” for example. Select the box called “Enable Watermark”. You can see that there are two methods for you to add watermark: text and picture. Click the “Text” option, fill in what you want to add, and you can set up the width, height and transparent of the text box from the output preview. You can also choose its specific location from the “Left” and “Top” options.
Click “OK” to finish the watermark, and click “Restore Defaults” to exit.
If you’re going to add a picture, just select the “Picture” option, click the “browse” button, and add your picture.
Finally, click “Convert” button to start convert your video. Just wait a moment, and you’ll get it.
No comments:
Post a Comment